How to create a contact form?
approx. reading time: 10 mins
- Websites
Creating a contact form is quite simple, we use either the widgets of the plugins or the plugins themselves in the CMS.
In WordPress these are for example Elementor Pro, Ninja forms and Fluent forms.
In Joomla! you can use for example Proforms, Form Builder or QuickForm.
And in Drupal, there’s the Webform plugin to choose from.
If you don’t want to use any of the previous options, you can create your own forms using HTML and cascading styles. In this way, we can create a form on our web page without a content management system and in the content management system itself. We will focus more on creating a contact form without CMS using HTML and CSS.
1. How to create a form step by step:
First of all, it is good to know what information we want to include in the contact form. I’ll make do here with just a simple form with three fields and a submit button.
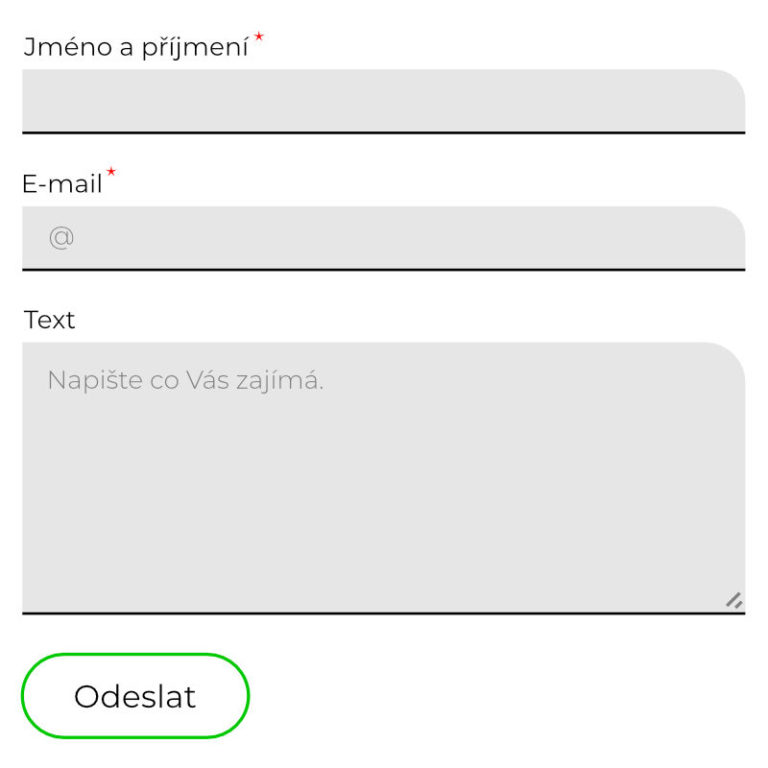
In one of the graphic programs I will first design the appearance of the whole form.
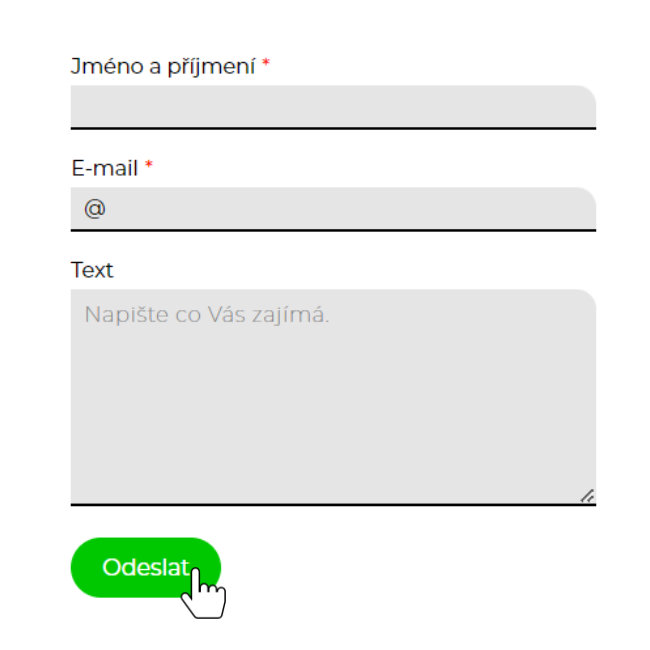
My form will look like this:
When we have the graphic design ready, we can start the actual creation.
2. Creating a contact form in HTML
We add a <form> element to the <body> document body and create our first field (label and input) there. <label> is the title above the field and <input> is the field to fill.

The <span> is used here to easily adjust the star for the required fields to be filled in. To create the required fields, type required at the end of the <input line>
In the browser, our contact form will look like this for now:

Add more fields and a submit button to the <form> element.

Input a label pro mail je vytvořen stejně jako pro Jméno a příjmení, jen s tím rozdílem, že je zde nastaven value = v políčku bude text brán jako plnohodnotný.
<textarea> slouží jako area pro zákazníka k sepsání více informací, zde je nastaven style=“resize: vertical;“ sloužící pro možnost zvětšení velikosti políčka jen vertikálním způsobem.
Navíc je tu placeholder = narozdíl od value, v políčku není nic napsané ale jen zobrazené, tento text se po kliknutí do políčka a následným psaním přepíše.
Posledním elementem je #submitbtn obyčejné tlačítko k odeslání.
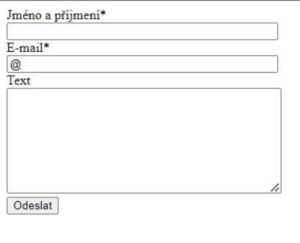
The form will look quite usable in the browser:
3. Form styling in CSS
To link CSS to HTML, you must create a main.css file in the index.html folder and insert the following line in the header of the <head> HTML document:
<link rel=“stylesheet“ href=“main.css“>

Import all used fonts and their cuts into the main.css file. This can be done externally using @import or by using @font-face to upload the fonts from your own folder. In this case, the Montserrat 200 and 400 font is loaded externally and set as the default font in the document body <body>.

The following is a modification of the <label> and <input> styles
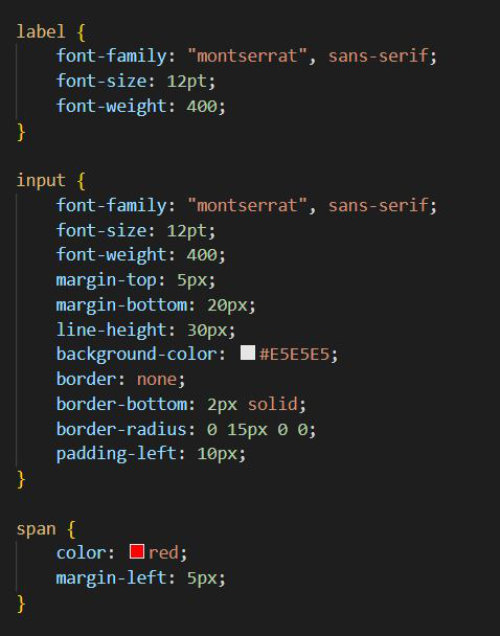
V <label> nastavíme pouze písmo.
U <input> je to poněkud složitější. Mimo písma je zde nastaveno ještě: odsazení (margin), výška (line-height), barva pozadí (background-color) a ohraničení (border), (padding-left) je zde použito pro odsazení vnitřního textu.
<span> už byl vysvětlen výše = úprava barvy hvězdy u požadovaných políček.
Formulář nyní vypadá následovně:

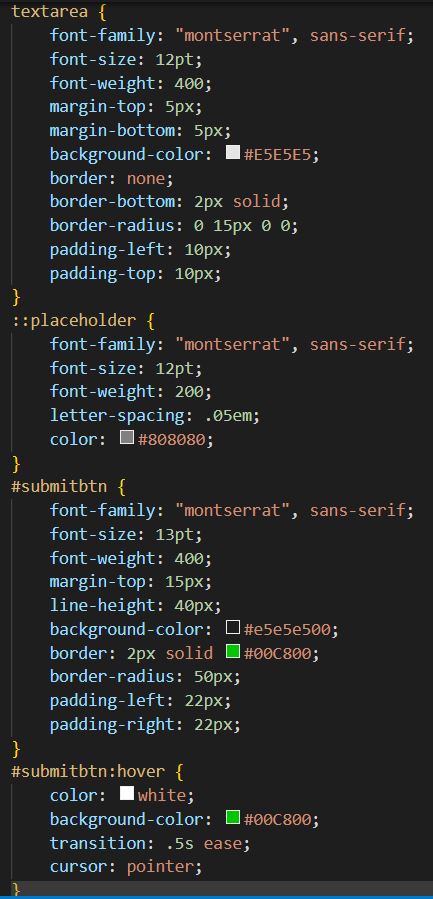
Po úpravě <label> a <input> přichází na řadu zbylé elementy <textarea> a #submitbtn.
<textarea> je upravena stejně jako <input>, navíc je zde ale nutné přizpůsobit placeholder, ve kterém jsou nadefinovány tyto hodnoty: použitý font (font-family), velikost písma (font-size), váha písma (font-weight), barva (color) a mezery mezi písmeny (letter-spacing).
#submitbtn je tlačítko k odeslání formuláře. Je zde nadefinován defaultní design a design při najetí myší:hover.
Kompletní kontaktní formulář:
